Is Starting a WordPress Blog A Dream?
Believe it or not, starting a WordPress blog is many people’s dream, and especially the thought of earning over $100K a month—while enjoying the freedom to work from home, travel, and design a lifestyle they love.
Sounds too good to be true? It’s definitely not.
Again, believe it or not, starting blog is easier and more affordable than you think. With just a small investment, you can launch your perfect site that has the potential to grow into a profitable online business.
Why Starting A Blog Could Be A Great Idea
Starting a WordPress blog is a powerful way to share your knowledge, express your creativity, and even earn money online. Whether you want to educate others, docsument your journey, build a personal brand, or sell a skill or product, blogging allows you to connect with a global audience.
It can also open up opportunities for networking, career growth, and passive income through ads, affiliate marketing, or selling products. Plus, with platforms like WordPress, starting a blog is easier than ever—even with no technical experience!
Let’s show you how!
Step 1: Define Your Blog’s Purpose and Niche

Before launching your WordPress blog, it’s crucial to define your purpose and niche. Your niche is the specific topic or industry your blog will focus on, while your purpose is the reason behind your blog’s creation.
Choosing the right niche and purpose will help you attract the right audience, create valuable content, and stay motivated in the long run.
Before diving into the technical steps, take a moment to think about its purpose and of course what niche you’d like to move into. Consider the following:
Niche:
Choosing a specific niche can help attract a dedicated audience and make your content more valuable. Here are some popular and profitable blogging niches:
🗣 Anyone can make a blog/website happen; the only requisite is patience!
Purpose:
A well-defined purpose gives your blog direction, helping you stay consistent and attract loyal readers. Ask yourself:
Step 2: Choose a Good Domain Name
Your domain name is your online address—it’s how people will find you and remember your website. A good domain is short, memorable, and easy to spell. If possible, try to include a keyword related to your niche (for example, “mybakingjourney.com” for a recipe site).
When selecting a domain name, keep these tips in mind:
A good blog name should be simple and tell your story in two to three words so potential visitors can instantly tell what your blog is about just from the name. Let’s show you how!
Specific Niche:
If your blog focuses on a specific niche, it’s a great idea to reflect that in your domain name. However, don’t get too fixated on a single word. For instance, if you’re starting a cooking blog, your domain doesn’t necessarily have to include the word “cooking.” Alternatives like “food,” “recipes,” or “meals” can also clearly communicate your blog’s theme while allowing for more creative and memorable name options. Keep it flexible, relevant, and easy to remember!
Personal Blog:
If you’re starting a WordPress blog for personal use by covering a variety of topics, then using your own name—or a variation of it—is a great choice. Since your blog revolves around your experiences, insights, and personality, a name that reflects your identity can help build authenticity and recognition.
This is what a personal blog URL would look like yourname.com. If your exact name is unavailable, consider adding a middle name, middle initial, or a creative variation such as bloggingwithname.com. The key is to make it unique, snappy, memorable, and reflective.
Registering Your Domain:
If you’re struggling to find a really good domain name, check out these two websites:
Once you’ve decided on a name, don’t wait too long to register it. If you already have a domain name in mind, you can check its availability to make sure the name hasn’t been taken, they get snapped up quickly, and you don’t want to lose the perfect one. You can register your domain directly with most hosting providers or through a domain registrar like Namecheap.
For a more detailed discussion on domains check out: How to Choose a Domain Name for Your Website: Simple Tips to Get It Right the First Time!
Step 3: Getting Your Website Online
Now that you’ve chosen the perfect name for your blog, it’s time to bring it to life! While this may seem technical, don’t worry—we’ll walk you through the process step by step to make it easy and stress-free.
To launch your blog, you’ll need a hosting provider to store all your blog’s files and ensure they are accessible to visitors when they type in your domain. Hosting is essential for making your blog live on the internet.
What to Look for in a Hosting Provider:
Selecting a hosting provider can feel overwhelming, with a vast range of options—from budget-friendly plans to premium services with hefty price tags. With so many features, pricing structures, and technical details to consider, how do you know which one is the best fit for your blog?
The key is to focus on what truly matters is reliability, speed, security, and support. A good hosting provider should offer a balance of affordability and performance, ensuring your website runs smoothly without unnecessary expenses.
When choosing a hosting provider, consider these factors:
Which Platform Is One’s Right for You?
Let’s break it down without the jargon:
The right choice depends on your site’s size, traffic, and goals. If you’re just starting out, shared hosting is fine. If you’re serious about growth, VPS or managed hosting is worth the investment.
Recommended Hosting Provider:
Choosing the right hosting ensures your blog runs smoothly, loads quickly, and provides a great experience for your readers. We do not recommend free or dirty cheap hosting companies because your data and blogs aren’t safe. We only recommend what we’ve tried and tested, and as you’ve probably guessed, we are big fans of ScalaHosting. Let’s check out why:
“We use their entry plan Build#1. It’s a hybrid solution that retains key advantages of shared hosting, such as low price, unlimited accounts, and bandwidth, while having the benefits of Cloud VPS hosting, including guaranteed resources, a unique IP, ultra-fast loading speeds, and more.
This plan offers the best value for money among all their plans, which is why we always recommend it.”
👉 Curious to know more? Check out ScalaHosting Review 2025 – What Makes It a Hidden Gem & Why We Finally Switched Over!
Other great hosting providers to consider are StellarSites and BigScoots.
Want to know more? Check out How to Choose the Best WordPress Hosting (No Headaches And Without Losing Your Mind)
How to Sign Up To A Hosting Provider:
To get started on your blogging journey, you’ll need to set up an account with your host provider. Most hosting accounts and setups are similar. Here is how to get started:
- Go to your chosen hosting company.
- Choose a plan that fits your needs.
- Click on the SIGN-UP button.
- Enter your domain name and personal details.
- Create an account when prompted.
- Complete your purchase.
Once your hosting account is active, you can proceed with installing WordPress.
Step 4: Installing WordPress
Most hosting companies provide WordPress installation with their hosting plans. If you opt for their managed hosting service, WordPress will be pre-installed. However, if you need to install it manually, follow these steps:
How To Install WordPress:
- Log in to your hosting account.
- Navigate to your hosting control panel (cPanel, sPanel or custom dashboard)
- Look for the WordPress Installer.
- Click Install Now and select your domain.
- Choose a site title, admin username, and password.
- You may want to change the database to something recognizable for your specific domain.
- You may have the option to choose a theme, we suggest leaving it as is for the moment.
- Click Install.
Once the installation is complete, you can access your WordPress dashboard by visiting www.yourblog.com/wp-admin and logging in with your credentials.
It really is that simple!
👉 Haven’t got the time to set up your website? We offer a full website setup service to help get you started.
Step 5: Customize Your Blog’s Design
This is the fun part, now that WordPress is installed, it’s time to customize your blog’s appearance.
Choosing a Theme:
Your WordPress theme determines the look and functionality of your blog. There are thousands of free and premium themes available. Some great options that are lightweight, customizable, fast, SEO-friendly, minimalist, and performance-focused are Kadence and Genesis.
Only two theme companies? You’re right it doesn’t sound like a lot and we know there are many choices. But, having tried and tested many themes, we know what works best. In comparison, most other themes are complicated, aren’t SEO friendly, and slow down your website due to endless coding.
Why Kadence:
Kadence is a powerful and highly customizable WordPress theme and block framework designed for speed, flexibility, and ease of use. Known for its lightweight structure and intuitive drag-and-drop header and footer builder, Kadence allows users to create beautiful, fast-loading websites without needing advanced coding skills.
Kadence seamlessly integrates with the WordPress block editor, offering a library of pre-designed sections, starter templates, and advanced customization options. It is perfect for bloggers, businesses, and eCommerce sites, providing both free and pro versions with additional features like dynamic content, custom hooks, and premium design controls.
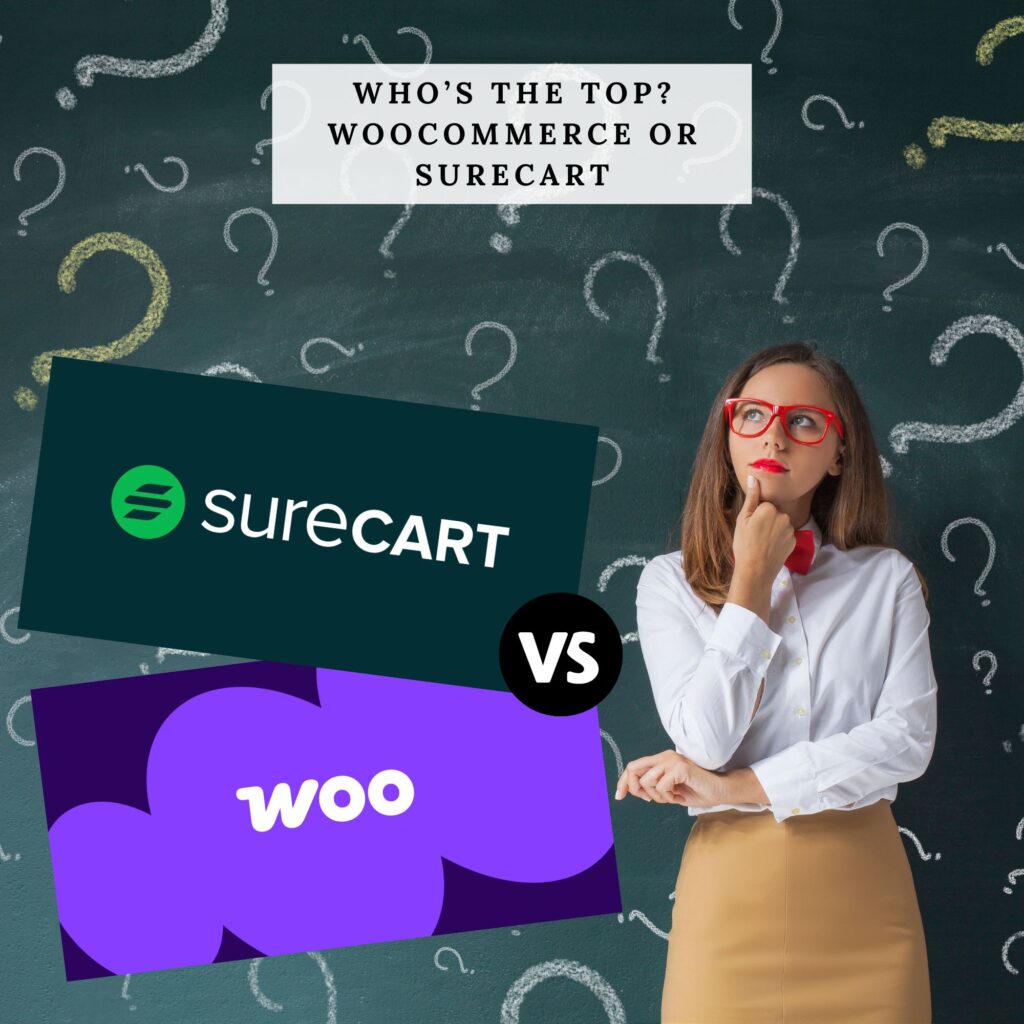
Its compatibility with page builders and plugins like WooCommerce makes it a top choice for creating professional and high-performing websites.
Our View: We use Kadence for many of our themes because of its simple yet powerful block editor. Our themes are designed to adapt seamlessly to any brand, making it easy to create a website that aligns perfectly with any unique style or vision.
Why Genesis:
Genesis themes, built on the Genesis Framework by StudioPress, are premium WordPress themes known for their clean code, fast performance, and SEO-friendly design. The Genesis Framework provides a solid foundation for building secure, mobile-responsive, and highly customizable websites with a lightweight structure that enhances speed and usability.
Genesis themes offer a minimalist yet professional aesthetic, making them ideal for bloggers, businesses, and developers who want a reliable and scalable website. With built-in schema markup, accessibility features, and a strong focus on performance, Genesis themes are perfect for those who prioritize SEO and long-term website stability.
While the framework itself is developer-friendly, it also integrates seamlessly with Gutenberg, making it a great choice for both beginners and experienced users.
Our View: Genesis is a great choice for its simplicity, clean code, and SEO-friendly foundation. However, while it offers its own set of custom blocks, they can be somewhat limited in flexibility compared to other block-based solutions.
Additionally, Genesis themes tend to be on the pricier side, making them a more significant investment, especially for beginners. Another key consideration is that Genesis heavily relies on the Gutenberg block editor, which means users who prefer more design freedom or advanced customization options may find it restrictive without additional plugins or custom coding.
Despite these limitations, Genesis remains a solid option for those who prioritize performance, security, and a well-structured framework for their WordPress site.
installing Your theme:
- Go to Appearance > Themes in your WordPress dashboard.
- Click Add New.
- Search for your desired theme. Search Kadence for their classic theme.
- Click Install, then Activate.
Customizing Your Theme:
Go to Appearance > Customize to tweak colors, fonts, layouts, and more. For Kadence users, you will need to install a couple of plugins before customizing.
👉 Prefer a helping hand? We offer a customization service to help get you started.
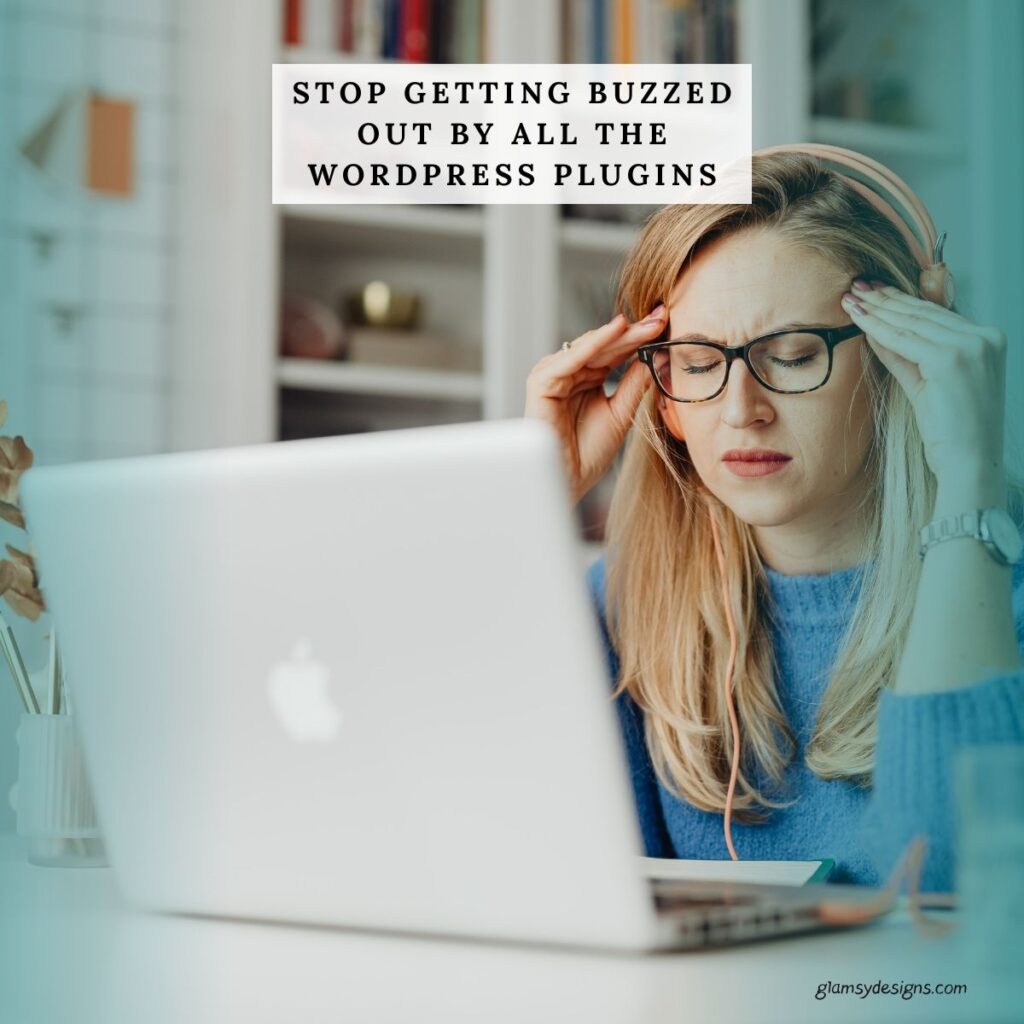
Step 6: Essential WordPress Plugins
Plugins add extra functionality to your blog so are a necessity and they give your website a strong foundation without overwhelming you with too many choices. Once you’ve installed the essential WordPress plugins, you’ll have everything you need to run a safe and reliable website.
As you grow, you many need to add few extra plugins, these will make your life easier (and your site a little more polished). These aren’t must-haves from day one, but they can really enhance your website when you’re ready.
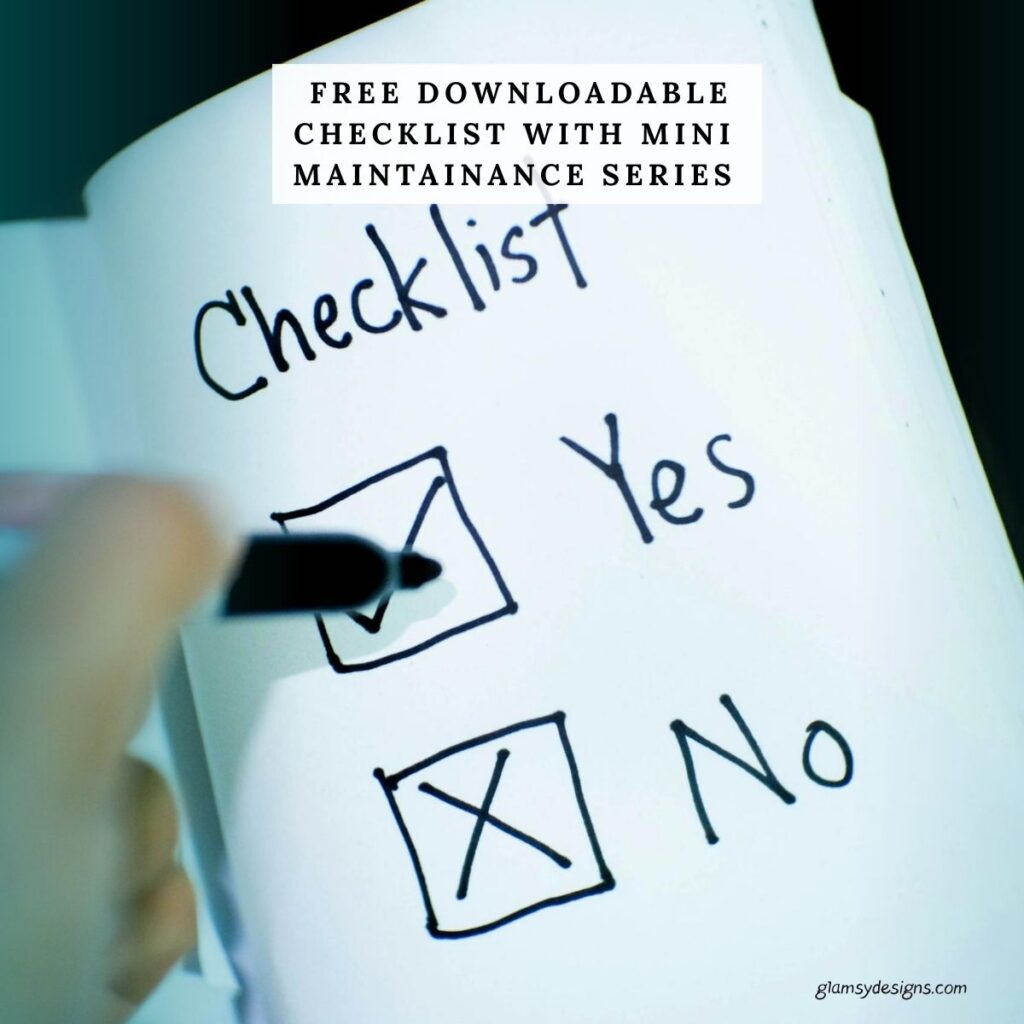
For a deep read check out Essential WordPress Plugins Every Beginner Should Install (and Why You Need To Know).
For more plugin recommendation check out our Favorite Resources.
Step 7: Create Essential Pages
If you’re using Kadence, some essential pages will automatically be installed. If your theme hasn’t installed any pages, it is a good idea to create some before launching your blog. Here are some suggestions:
You can create these pages by going to Pages > Add New in your WordPress dashboard.
Step 8: Write Your First Blog Post
Writing your first blog post can feel overwhelming, but the key is to start with a clear purpose and a well-structured approach. Begin by choosing a topic that aligns with your blog’s niche and resonates with your target audience.
Here are some tips to get started:
Craft a compelling title that grabs attention, then outline your main points to keep your content organized. Start with an engaging introduction that hooks the reader, followed by informative and valuable content presented in easy-to-read sections.
Use headings, bullet points, and images to enhance readability. Finally, end with a strong conclusion that summarizes your key points and includes a call to action, such as encouraging comments, sharing the post, or subscribing to your newsletter.
You can create a new post by going to Post > Add New in your WordPress dashboard.
Remember, your first post doesn’t have to be perfect—focus on providing value, and you’ll improve with each new post! For a more detailed discussion on writing a post check out Writing Your First Blog Post: A Beginner’s Guide to Starting Strong and Growing With Confidence!
Step 9: Optimize Your Blog for SEO
SEO (Search Engine Optimization) is crucial for blog posts because it helps your content rank higher in search engine results, making it easier for people to find your blog. A well-optimized post increases organic traffic and brings in readers who are actively searching for the topics you cover.
SEO also enhances user experience by encouraging well-structured, easy-to-read content with relevant keywords, internal links, and optimized images. Additionally, strong SEO practices help build credibility and authority in your niche, making your blog more competitive in the long run.
Without proper SEO, even the best-written posts may go unnoticed, limiting your reach and growth potential. To make SEO easier, install the RankMath plugin; the free version is adequate but the pro is incredibly powerful.
Here are some SEO tips:
Step 10: Optimize Your Blog for Search Engines
If you want your blog to attract organic traffic and rank well in search engine results, Search Engine Optimization (SEO) is essential. SEO helps your content get discovered by the right audience, improving your blog’s visibility, credibility, and long-term growth. Below are key strategies to optimize your blog for search engines effectively.
Install the Site Kit by Google plugin:
This is used for analytics; however, it’s a gem at installing Google Analytics and all you need is a Gmail account. Follow their instructions and in five minutes your Google Analytics will be up and running.
NOTE: If you’re using RankMath, you won’t need to install Site Kit by Google.
Installing RankMath:
After installing RankMath, go to the General Settings to add your Bing, Google Search Console, Baidu, Yandex, Pinterest, and any other Webmaster Tool codes. You will need to follow the links and set an account up to verify your website for each one. It is a little time-consuming but worth the effort.
Building Traffic—Growth Takes Time:
When starting a WordPress blog, it’s important to set realistic expectations before launching—traffic will start off slow. However, with consistency and quality content, your audience will grow over time. The key is to regularly publish informative, valuable, and engaging content that resonates with your target audience.
Search engines reward fresh and relevant content, and as you continue to provide value, your blog will gain visibility, attract more visitors, and build a loyal readership. Stay patient, remain consistent, and focus on long-term growth—your efforts will pay off.
Optimizing Permalinks:
A permalink is the permanent URL structure of your blog posts, and optimizing it is crucial for both user experience and search engine rankings. The “slug” refers to the end portion of the URL, and by default, WordPress may generate one with random numbers or unnecessary characters. To ensure clean, SEO-friendly URLs, it’s best to customize this setting.
To update your permalink structure in WordPress:
- Navigate to “Settings” → “Permalinks” in your WordPress dashboard.
- Select the “Post Name” option for a clear and concise URL format (e.g., yourwebsite.com/blog-post-title instead of yourwebsite.com/?p=123).
- Click “Save Changes.”
This simple tweak makes your URLs more user-friendly, improves search engine visibility, and helps readers instantly understand what your post is about.
Optimizing Titles:
Your blog post titles play a critical role in attracting readers and improving search engine rankings. A well-crafted title should be compelling, keyword-rich, and structured to encourage clicks. Here are key strategies to optimize your titles effectively:
The first impression on your blog page is your title for both readers and search engines. By incorporating keywords, clarity, engagement, and psychological triggers, you can craft powerful headlines that drive traffic, increase engagement, and improve your blog’s overall performance.
Step 11: Promote Your Blog
Before promoting your blog, it is a good idea to write at least twenty blog posts. Once you feel confident with your posts and website, you can promote it to reach a larger audience. Here are some tips to promote your blog:
Step 12: Monetize Your Blog (Optional)
Once you have traffic, you can start monetizing your blog. This is an optional process depending on your niche. Popular methods include:
Final Thoughts
Starting a WordPress blog is a straightforward process when you follow these steps. With the right hosting, theme, plugins, and content strategy, your blog can become a valuable platform for sharing your ideas and growing an audience. Stay consistent, keep learning, and enjoy the blogging journey!
Are you ready to starting a WordPress blog? Have you used one of our themes? We’d love to see your creativity, feel free to share your examples below —we and everyone else can’t wait to be inspired by your work.
Join Glamsy Cloud Free STUNNING Sampler Templates!
Start with 20 gorgeous Kadence premium blocks on us.
FAQs For starting a WordPress blog
Disclaimer: Glamsy Designs shares this guide for learning only and cannot be held responsible for issues that may occur. While we strive to provide accurate and helpful advice, Glamsy Designs is not responsible for any issues, damages, or data loss that may occur as a result of following this guide. It is always recommended to back up your website.